The Lost Front How to Capture Checkpoints
Clear, stand, guard, and flip spawns across the trenches and ruins map.
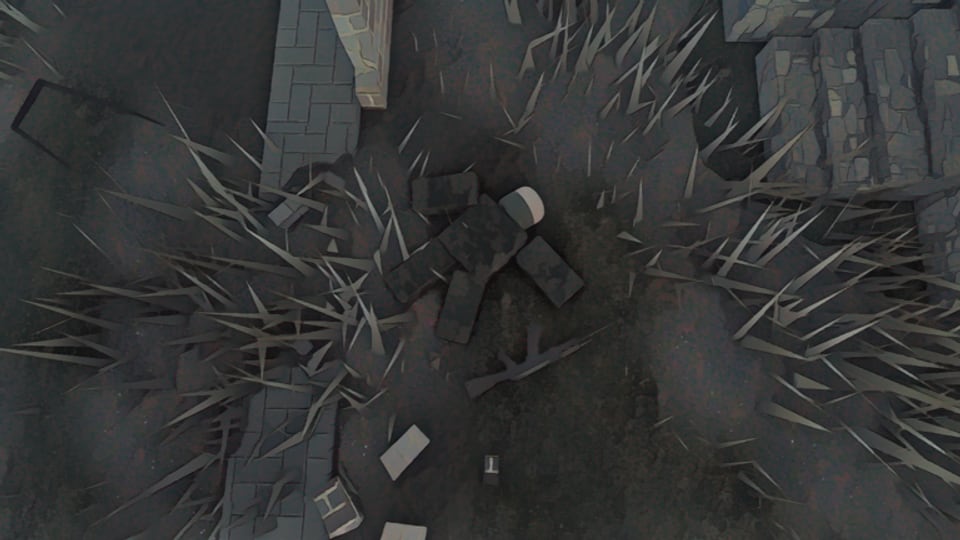
Every The Lost Front match is decided by checkpoints. Red and Blue fight across trenches and ruins to own three capture points. Frags feel good, but ownership flips the spawn map and decides who attacks uphill for the rest of the round. This guide explains approach, clear, stand, guard, spawn logic, and win condition so your squad stops throwing free points. Read it alongside Getting Started and Controls if you are still learning the basics.
Type Productions launched the game on June 17, 2025; with 83 million-plus visits, lobbies are full of players who already understand objective play. Outplay them with discipline, not lone-wolf heroics. Cheaters are permanently banned—report and refocus on the next capture.
Win condition in plain language
Your team wins by controlling the checkpoint network. Capture a point by eliminating defenders and remaining inside the zone until ownership changes. Hold enough of the three points—and the pressure that comes with them—to break the enemy’s ability to contest. Exact UI timers can shift with patches while the game stays in development, but the skill expression does not: clear first, occupy second, protect third.
Kills matter when they enable those three steps. A twenty-kill game that never stands on a point still loses to a ten-kill squad that flips two checkpoints and defends them.
Step 1 — Approach with a plan
Do not sprint the open trench midline because it looks short. Prefer covered approaches: side trenches, ruined interiors, and angles that limit how many Machine Gunners can see you at once. Before the final corner into a point room, stop. Check ammo. Reload with R. Crouch with C if you need a quieter peek. Communicate which entrance each teammate takes so you do not stack in one doorway.
Assault players lead many approaches with AKS-74 or upgraded rifles from Weapons. Marksman (level 10) should hang slightly back to punish peeks. Medic (level 5) stays one step behind the first entry so heals land after the initial trade. Drone Operator (level 16) can scout the room first—see Drone Operator—then rejoin on foot.
If the approach is contested by a dug-in Machine Gunner, do not feed. Smoke with bodies elsewhere: rotate to a second entrance, wait for a teammate trade, or soft-pressure with an RPG-22 ($500) instead of donating rifles to a death funnel.
Step 2 — Clear before you capture
Standing on a hot point while three defenders alive is how beginners die. Clear the room and nearby windows first. Pre-aim head height. Use RMB ADS for longer ruin sightlines; hip-fire only when the fight is already inside your face. Loot magazines with F after wins so the next fight does not start dry.
Grenade and rocket timing matters. RPG-7 ($2000) can delete stacked defenders but is expensive—do not waste it on an empty room. RPG-22 is the budget answer for stubborn camps. After explosives, wait a beat before rushing in; survivors hold tight angles on the entry.
Step 3 — Stand on the zone
Once the immediate threat is down, get feet on the capture area. Spread slightly so one explosive does not wipe the whole squad. One player should watch the entrance you just used; another watches the opposite trench. Capturing is not AFK—treat it like a hold in a tiny site from other tactical shooters.
If ownership is almost flipped and a lone defender returns, the correct play is often to keep two on the point while one peeks. Abandoning the zone to chase a kill across the map resets progress and invites a full enemy retake.
Step 4 — Leave a guard, then rotate
After the point flips to your color, leave at least one guard if the enemy can path back quickly. Empty points flip again the moment a sneaky Assault walks in. Guards should play off-angles, conserve ammo, and call when they need help—not ego-challenge every footstep alone.
Rotating players move toward the next soft objective or reinforce a sibling point under pressure. The best teams never commit five players to a already-owned safe point while another checkpoint sits undefended.
Spawn system and map snowball
Owning checkpoints pulls your spawn closer to the action and pushes the enemy spawn back. That snowball is why early captures matter more than highlight clips. When you spawn far, expect longer walks and higher risk of getting picked by Marksman players watching lanes. When you spawn near, you can recontest faster than the enemy can organize.
Practical habits:
- After death, read which points your team owns before charging the same doomed angle.
- If you own two points, defend the weaker one instead of greed-forcing the third alone.
- If you own zero, group up—solo retakes into prepared defenses fail.
- Use spawn proximity to stage drone runs or MG setups that cover the next approach.
Role jobs during a capture
| Class | Capture job |
|---|---|
| Assault | Entry clear, zone presence |
| Medic | Keep zoners alive through the tick |
| Marksman | Overwatch on retake lanes |
| Machine Gunner | Lock the widest trench approach |
| Drone Operator | Scout stacks, dive clumps, watch flanks |
Mix classes on purpose. Five Assaults can entry, but they bleed out without Medic support and lose long lanes without Marksman or MG coverage.
Common capture mistakes
- Standing before clearing — instant death, wasted ticket time.
- Solo hero caps — one player cannot hold three entrances.
- Ignoring spawn math — fighting uphill every life after throwing early points.
- Empty owned points — free flips for the enemy.
- Chase kills off site — leaving the zone mid-capture.
- Shooting while sprinting — miss the trade that would have secured the room; stop, then shoot.
Gear that helps objective play
Reliable rifles beat novelty. AKS-74 (free) is enough for clears if you control bursts. AKM ($850) and AS-VAL ($1250) speed up entries. American Guns’ M16A1 helps if you own the pass. Explosives break camps. Full shop context sits on Weapons; spend decisions on Game Passes. Meta snapshots live on the Tier List and Players.
Drill you can run in public matches
For three matches in a row, track only objective stats mentally: approaches survived, successful stands, guards left behind, and needless chases. Ignore K/D for that session. You will notice captures climb when you stop treating the map like a deathmatch server.
Related guides
- Getting Started — first-hour checklist
- Controls — movement and shooting binds
- Drone Operator — airborne help on stacked points
- Weapons — guns for clears and holds
- Game Passes — optional XP and team tools
- Guides Hub — all tutorials
Capture discipline is the real ranked skill in The Lost Front. Master clear → stand → guard, and the trenches start playing for your team instead of against it.
Frequently Asked Questions
Quick answers for The Lost Front players.
How many checkpoints are on The Lost Front map?
There are three checkpoints. Red and Blue win by capturing and holding them across the trenches and ruins layout.
Should I stand on the point while enemies are still alive nearby?
Clear first whenever you can. Standing on a hot point without clearing usually just feeds the defenders free kills.
Why do spawns feel farther after we lose a point?
Checkpoint ownership shifts spawn pressure. Losing ground pushes your team back and makes retakes longer and harder.
What class is best for capturing?
Assault is the flexible entry default. Add Medic to keep zoners alive, Marksman or Machine Gunner for lanes, and Drone Operator for scouting stacked defenses.
Is killing more important than capturing?
Kills matter when they enable clears and holds. Pure deathmatch play without standing on points loses to objective-focused squads.